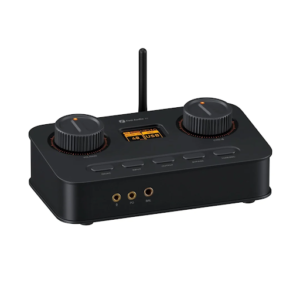


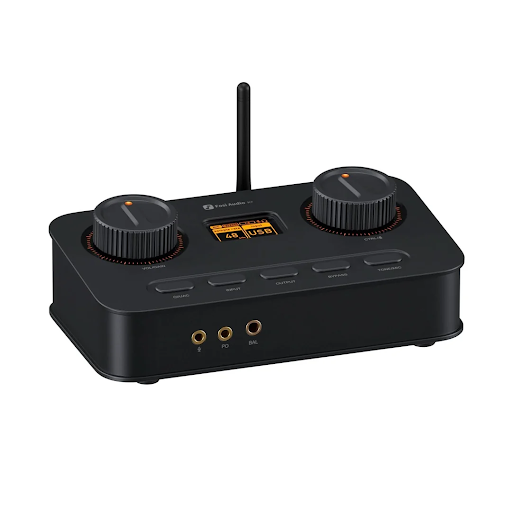
A new audio unit can feel like a small upgrade on paper and a big headache in practice if something is not set up properly. The good news is that most problems come from the same few causes, and a calm, step by step approach avoids them. This checklist walks through the process of installing and checking an external gaming sound card, using the Fosi Audio gaming sound card collection as a reference for the kinds of units available.
Step one: unpack and inspect
Before you plug anything in, check what is in the box. Look for the unit itself, the cable and any adapters, and keep the manual. Inspect the unit for damage. If something is missing or broken, contact the seller before you go further. Keep the packaging for a few weeks in case you need to return the product.
Step two: choose the right model
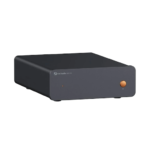
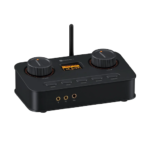
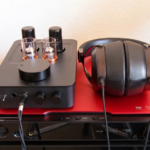
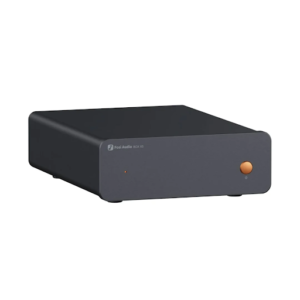
If you are still deciding, remember that the collection page lists desktop and portable units. The K7 is described as a desktop DAC headphone amplifier with versatile connectivity, the StepSense C3 as a gaming audio unit with enhanced sound positioning, the K5 Pro as an affordable desktop upgrade and the DS3 as a compact, plug and play model. Pick the type that fits where and how you listen.
Step three: plan the connections
The page says the range uses USB, optical, coaxial, Bluetooth, 3.5 mm, 6.35 mm and RCA connections, depending on the model. Decide which input you will use from your source and which output you will use for your headphones or speakers. Most desktop users will connect by USB and plug headphones into the 3.5 mm or 6.35 mm jack.
Put the unit within easy reach, with space for ventilation. Keep cables tidy and avoid bending them sharply or running them alongside power cables, which can add noise.
Step four: connect and power on
Connect the source first, then your headphones. Make sure the volume on the unit is turned down before you put on the headphones. A sudden burst of loud sound can be unpleasant and can harm your hearing. Then switch the unit on, or plug in the USB cable if it takes its power that way.
Step five: choose the unit in your computer settings
Open the sound settings on your computer. Select the new unit as the default output device. If you use communication software, check its settings as well, because many programs have separate options for the speaker and the microphone. Test with a short audio clip, such as a spoken recording, and adjust the volume slowly.
Step six: check the format
Some units let you choose the format of the signal, such as the sample rate or bit depth. The collection page says the DAC can decode up to 24 bit and 192 kHz or above. If you do not need the highest settings, a standard setting is fine and may avoid problems with some software. If you hear clicks or dropouts, try lowering the setting.
Step seven: test headphones and levels
Try your headphones at several volume levels. If they sound weak at high volume, check the unit’s gain setting if it has one, and compare the impedance of your headphones with the unit’s output. The page says the output supports headphones of 300 ohms and above. If they sound distorted, lower the gain or volume.
Step eight: voice chat and recording
If you use a microphone, check that it is recognized and that the input level is sensible. The page notes that streamers and content creators need a reliable output and that the products support monitoring and audio control. Monitoring lets you hear your own voice while you speak, which helps you set levels. Record a short sample and play it back to check quality before you start a longer session.
Step nine: solve common problems
No sound: check that the cable is fully inserted, the right output is selected in your settings and nothing is muted.
Hiss or buzzing: try another USB port, move the unit away from power cables and the computer case, and check that your cables are in good condition.
Clicks or dropouts: avoid USB hubs, try a shorter cable and update the computer’s drivers or system software.
Volume too low: check the gain setting and the volume in both the computer and the unit.
Only one side works: check the plug is pushed in fully and try another pair of headphones to see whether the fault lies with the headphones or the unit.
Step ten: look after the equipment
Keep the unit dry, dust free and out of direct sunlight. Do not pull on cables. Unplug the unit during thunderstorms if possible. Wipe the case with a dry or slightly damp cloth, never with strong cleaning products.
Step eleven: know your support options
Keep your purchase record and read the warranty terms on the seller’s page. If you meet a fault you cannot fix, the seller’s support team can usually help. Provide clear details, such as the model, your operating system and a description of what happens.
Final word
A careful setup takes only a few minutes and prevents most frustrations. Work through the steps in order, change only one thing at a time and write down what you tried. That way you will find any problem quickly and enjoy a clean, dependable output for a long time.