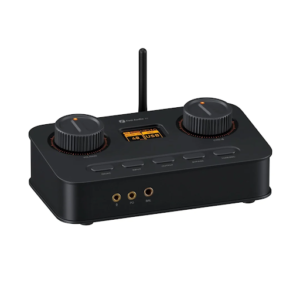


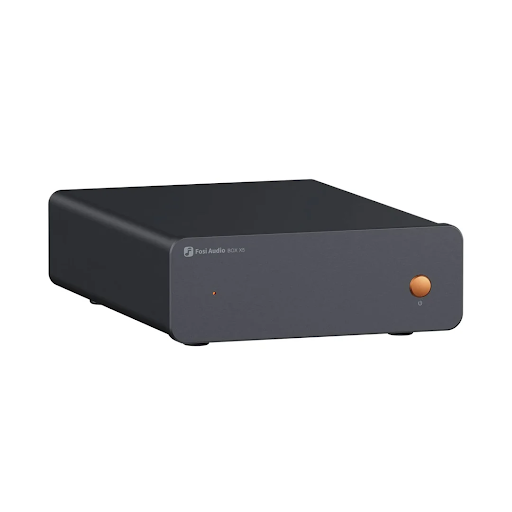
You have bought a preamplifier and a power amplifier, and now you are looking at a pile of cables. Where does each one go? Connecting separate components is not difficult, but a few simple rules prevent the most common problems, such as noise, loud pops and no sound at all. This guide takes you through the process step by step, using the range of audio preamplifiers on the Fosi Audio collection page as the starting point.
Know what you have
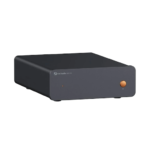
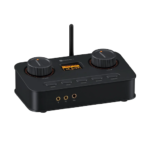
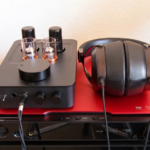
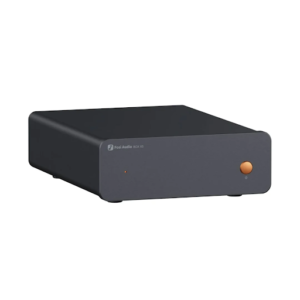
Begin by identifying the role of each device. A preamplifier selects inputs and controls volume. A power amplifier drives the speakers. The Fosi Audio collection lists products such as the ZP3 Preamplifier, the P4 Mini Preamplifier and the P3 Tube Preamplifier. The page gives no information on their inputs and outputs, so read the manual or product page for each unit and note which sockets it has.
Also read the manual of your power amplifier. Other pages on the Fosi Audio site describe amplifiers such as the V3 Mono Monoblock and the ZA3 Balanced Stereo Amplifier with XLR inputs, so check whether your amplifier accepts RCA, XLR or both.
The signal path
The signal travels in one direction. The source sends sound to the preamplifier. The preamplifier sends it to the power amplifier. The power amplifier sends it to the speakers. When all connections are made correctly, you only control the volume at the preamplifier, and the power amplifier works at a fixed gain.
Step one: switch everything off
Before connecting or changing any cables, switch all equipment off and, if possible, unplug it. This prevents loud noises and protects the equipment.
Step two: connect the sources
Connect each source device to an input on the preamplifier. Use good quality cables of a suitable length. Avoid very long runs of cable if you can, and avoid coiling extra cable tightly. Note which input each source uses, so you can select it correctly later.
Step three: connect the preamplifier to the power amplifier
Use the output sockets of the preamplifier. If both units have RCA connections, use RCA cables, with one plug for each channel. Keep left and right consistent, typically white for left and red for right. If both units offer balanced XLR connections, you can use XLR cables instead. Balanced connections can reduce noise, especially over long cable runs.
Do not mix up the preamplifier outputs with inputs. Outputs go to the power amplifier. Some preamplifiers have more than one output, such as a fixed output and a variable one. Use the variable output if you want the preamplifier’s volume control to work, and check the manual to be sure which is which.
Step four: connect the speakers
Connect the power amplifier to the speakers with speaker cable. Keep the positive and negative wires matched on both ends, and make sure no loose wire strands touch. If you use two mono amplifiers, connect one to each speaker. Never connect the preamplifier’s output directly to a speaker, because it is not designed to drive one.
Step five: power up in the right order
Turn the volume of the preamplifier all the way down. Switch on the sources, then the preamplifier, and switch on the power amplifier last. When you switch off, do the reverse. This order reduces the chance of a loud pop through the speakers.
If your equipment has a different recommended order in its manual, follow the manual.
Step six: set the volume
Raise the volume slowly. If the sound is too quiet even at a high setting, check your connections and settings before increasing the level further. If you hear distortion at moderate levels, something may be set too high, such as the output of a source or a gain control.
Step seven: solve common problems
No sound: check that the correct input is selected, that all cables are plugged in fully and that nothing is muted. Check that the power amplifier is on and its input matches the cable type.
Hum or buzz: separate signal cables from power cables. Try plugging all components into the same power strip. Try a different outlet. A hum that changes when you touch a connection may point to a ground loop.
One channel silent: check the cables for both sides, swap them over to see if the fault moves, and check the speaker wires.
Noise when turning the volume knob: the control may be dirty or worn. Check the manual or contact the seller.
Gain and level matching
Signals should travel at a sensible level at each stage. If your power amplifier has a gain or sensitivity control, set it so that the preamplifier’s volume control is in a comfortable middle region at normal listening levels. If you have to turn the preamplifier almost to the maximum, the system gain may be too low.
Cables and tidiness
Label the cables at both ends. Leave some slack, but do not leave long loops that can pick up noise. Keep the equipment well ventilated and do not stack hot items directly on top of each other.
A final safety note
Never connect or disconnect speaker cables while the power amplifier is switched on. Keep volume at a safe level. Loud sound for long periods can damage hearing.
Summary
Connecting audio preamplifiers to a power amplifier follows a clear order. Switch off, connect sources, connect the preamplifier to the power amplifier, connect the speakers, then power up in the correct order. Check your manuals for socket details, label everything and test carefully. A tidy, correctly wired system will give you reliable control and a clean signal.